One of the most common ways to FTP into your site is using a program called FileZilla.
You can download FileZilla at the following link: https://filezilla-project.org/download.php?type=client
Once you have installed and opened FileZilla, you will be shown the screen like below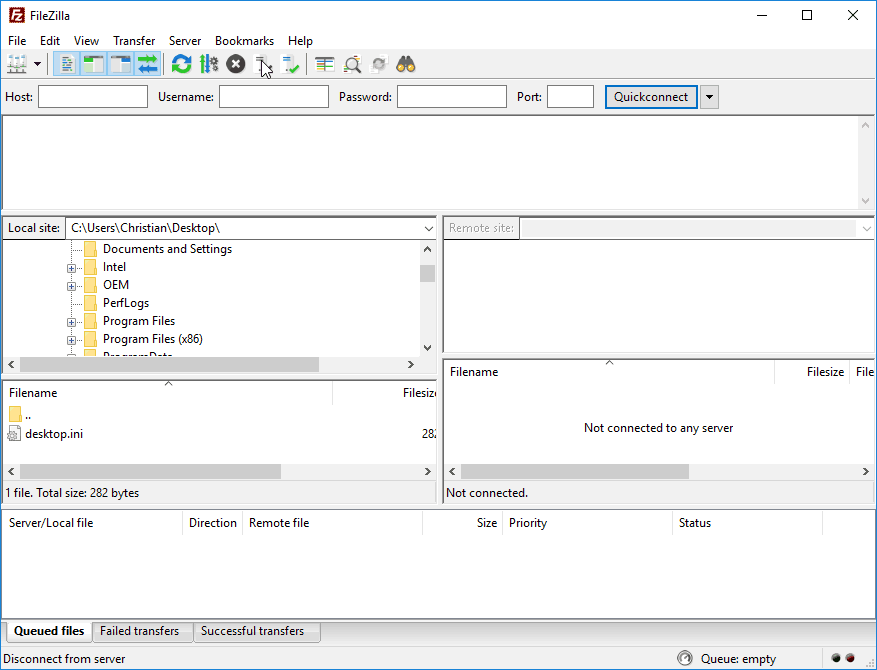
From here, we will make a permanent entry for your domain.
To do so, click File > Server Manager or alternatively click the little server icon under File.
You will now get this pop-up window;
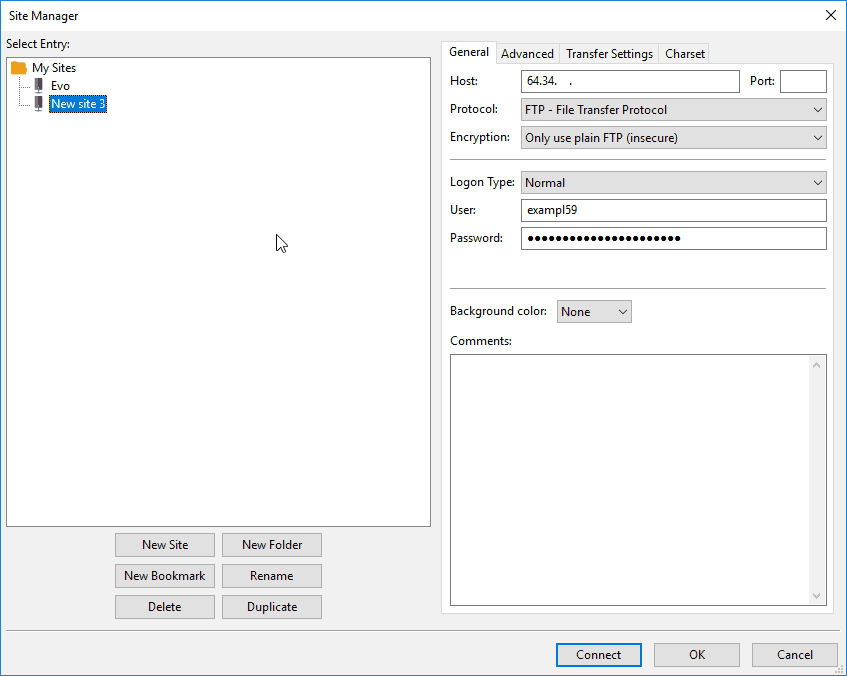
In host, you want to put in your domains name or IP address.
Port you can leave blank, as it will automatically use the one suited for your needs.
User and password are both kept the same as your cPanel login details found in your dashboard.
You can use the Copy Username and Copy Password functions for this.
Alternatively, you can add more FTP user accounts for your domain within cPanel.
Set logon type in the drop menu to Normal.
Set protocol in the drop down menu to FTP – File Transfer Protocol.
Set encryption in the drop down menu to Only use plain FTP (insecure). Please note – Some providers are picky and won’t let you use secure FTP’ing or vice versa. In that case, you might need to pick the other option which for this guide would be to use Require explicit FTP over TLS.
Once you have entered those details, hit Connect down the bottom (highlighted in blue) and then hopefully you will see the following dialog appear;

You are now logged into your FTP server! Your FileZilla should now look like below;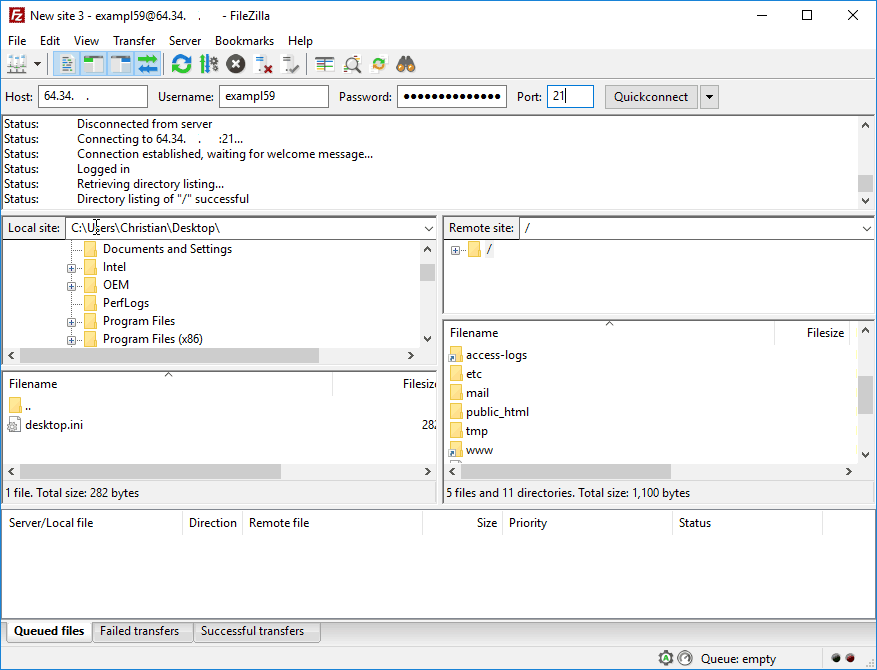
From here you will be able to drop files into your public_html folder for your domain.
Have fun FTP’ing!